How to draught proof your home
Draught proofing your home is a simple, quick, and cost-effective way to keep in the heat and save energy. Keep the warm air in and the cold air out by reading our all-you-need-to-know guide on how to draught proof your windows and doors. We'll take you through the simple steps and our top picks for draught excluding.
Jump to:
1. How to fit draught excluders to windows
2. How to draught proof internal doors
3. How to draught proof external doors
1. How to fit draught excluders to your windows
Fitting draught excluders to the gaps around your doors and windows will keep warm air in and cold air out - while helping to make your home warmer and cutting your fuel bills, too. You'll find self-adhesive foam strips or draught excluder are inexpensive, easy to fix in place, and ideal for using on your casement windows and interior doors. But make sure you don't stretch the strips when you fit them, as this will make them less effective.
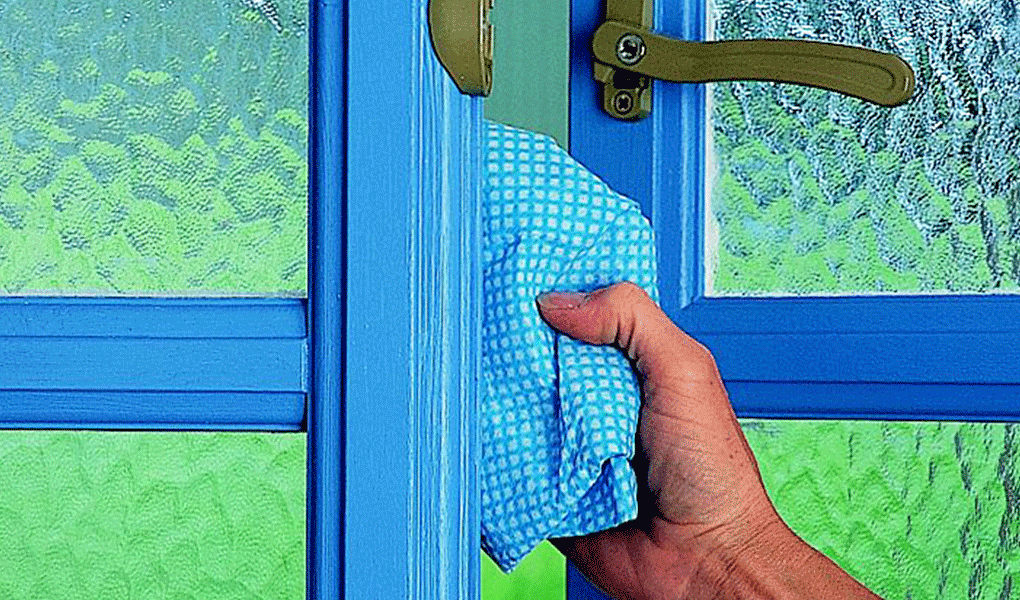
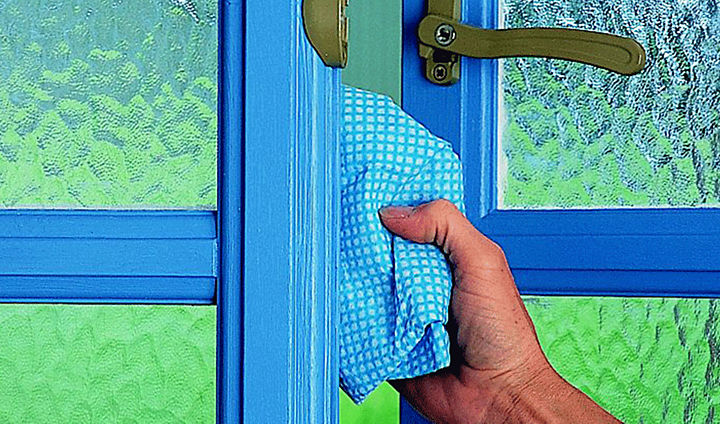
Step 1
Use a damp cloth to clean off all dirt and any loose paint from your window frame.


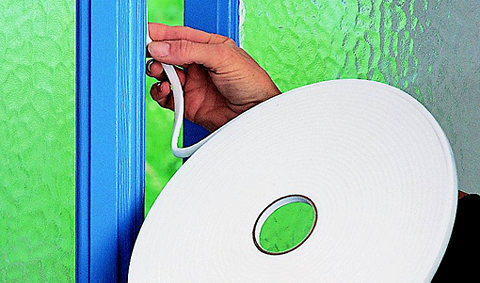
Step 2
When the frame is dry, peel off the backing paper from the self-adhesive foam draught excluder, a little at a time. Then press it onto the outside of the window frame, where the opening casement window will press against it when it's closed. Cut the ends of each length at a 45 degrees angle to form a neat join at each corner. Close the window to press the strip firmly in place.
2. How to draught proof internal doors
You can draught-proof internal doors to unheated rooms by fitting a brush strip to the bottom of the door, and a self-adhesive foam seal strip all the way round the door frame. Draught excluders come in various sizes for different-sized gaps. If you're not sure about the size of the gap, squash a small piece of reusable tack into the door frame and shut the door. Open it again, remove the tack and then measure it.
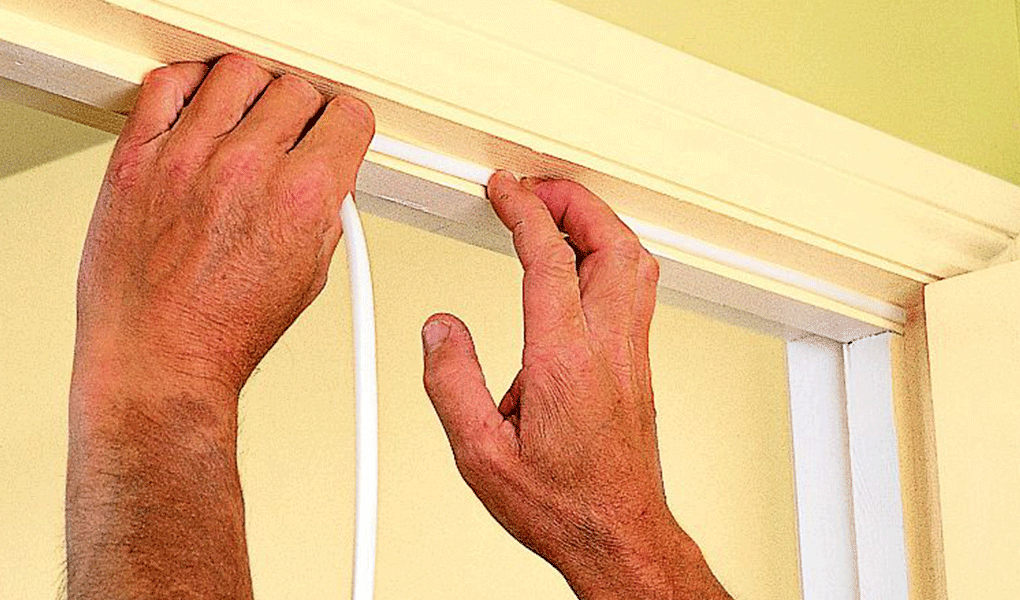


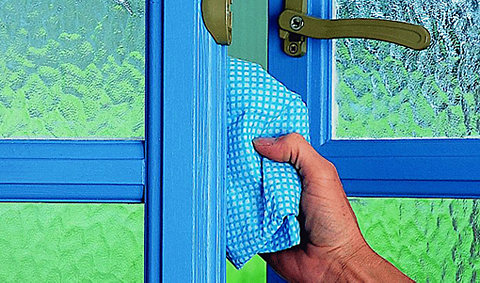
First, use a damp cloth to clean off any dirt and loose paint on the door frame rebate. When the frame is dry, put self-adhesive foam draught excluder all the way around the edge in the same way as you would for a window, and cut it to the right length with scissors.
Make sure you attach the strip to the frame rather than the door stop, or it'll rub off when the door closes.
3. How to draught proof external doors
You can get different coloured draught excluders to fit to your door or on the floor in the threshold, as well as strips and seals for the door frame. Or if you want some extra insulation, why not also fit a letterbox cover - plus a keyhole cover that drops a metal disc over the hole?
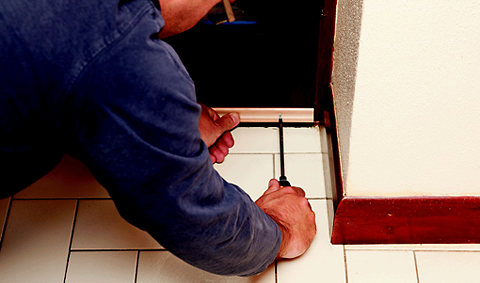
Step 1
Fit a brush strip across the bottom of the door on the inside, using the screws provided.
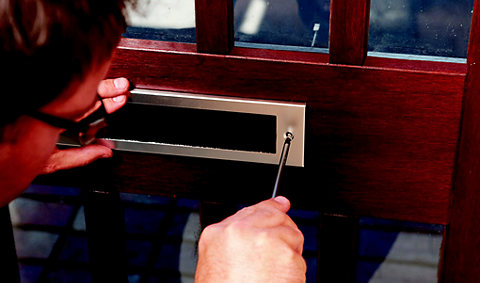
Step 2
Screw a letterbox cover over the inside opening of your letterbox.